STANDARD SIGHT PICTURES WITH BLACK FRONT SIGHTS
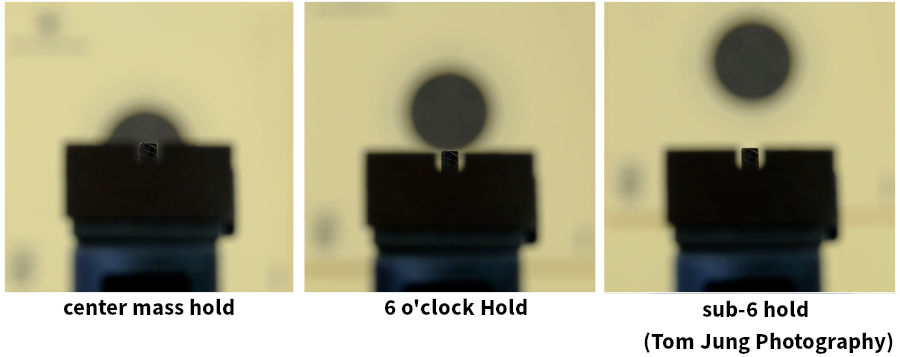
Iron sights have been the original sighting method since the invention of the pistol. Although red dot scopes have become the standard now with bullseye pistol shooting (precision pistol), there are matches using iron sights only. Some prefer iron sights over the red dot scopes while others may have found problems seeing the iron sights with confidence. Widening of the rear sight notch has helped some with the alignment of the front sights in relationship to the rear sights.
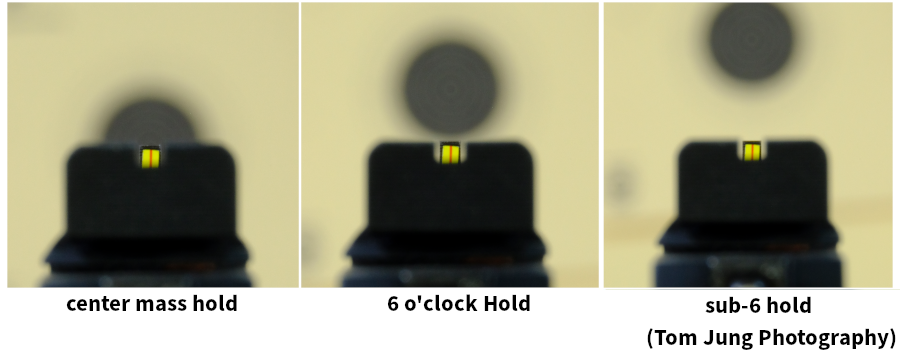
Shooters who have tried center mass hold have mentioned that it may be difficult to see the black sights against the black bull. With the 6 O’clock hold, lining the top of the front sight against the bottom of the black bullseye becomes more difficult as we age because there will be a noticeable blur to the front sight. With prescription shooting glasses, the clarity of the front sight improves but there will be some compromise to the clarity of the bullseye. Sub-6 hold or deep sub-6 may be the favorite to many but judgment of the vertical spacing for the sight picture consistently could be difficult at times.

I first thought of enhancing the front sights of our pistols 20 years ago, but as many precision pistol shooters have done, I quickly gravitated to the red dot scopes so the iron sight picture was not a priority. I took a break from shooting recently and just got back to the range to start off the new year. I refreshed my memory of how the various sight pictures look while trying on my collection of shooting lens prescriptions starting with Plano and increasing in 0.25D steps up to +1.25D.
There are three front sight designs. The rear end may be straight, have a backward tilt or a forward tilt. I believe each firearm manufacturer had a specific goal with their designs. The forward tilt would allow more light from different angles to reach the front sight while the backward tilt would help maintain a darker shade to the backside of the post.
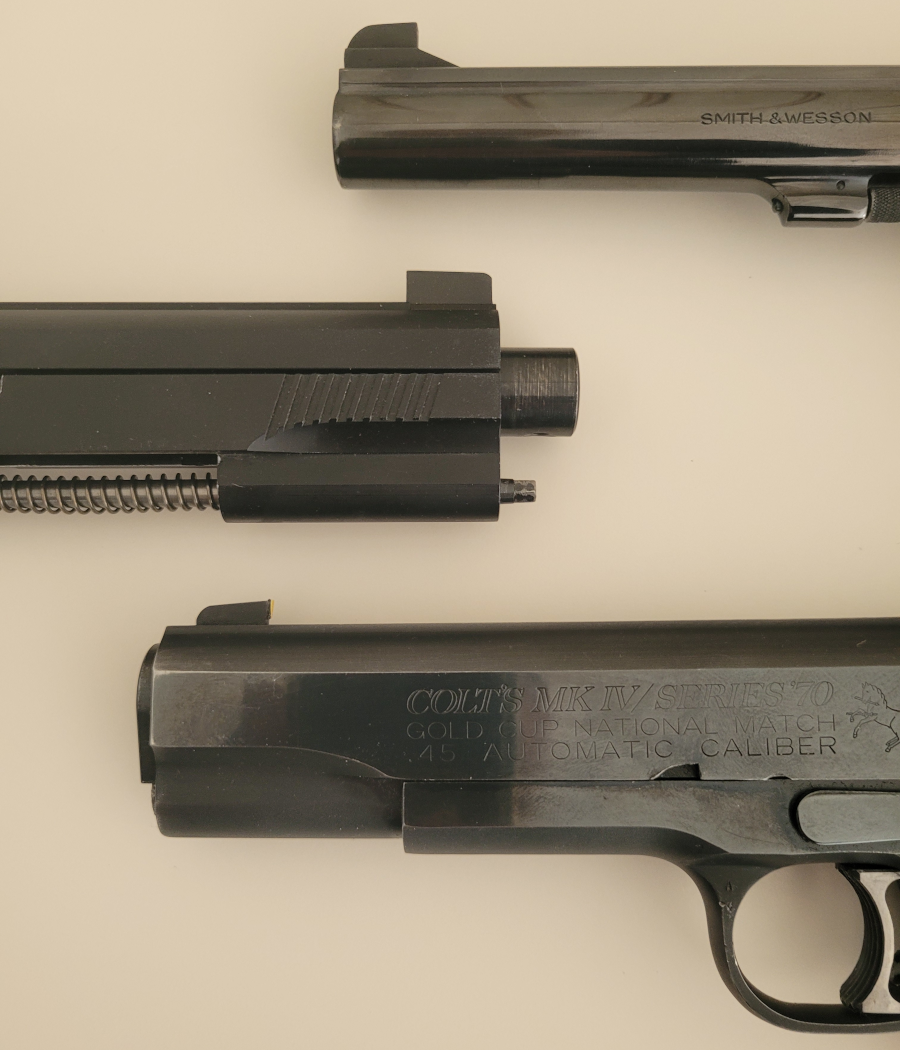
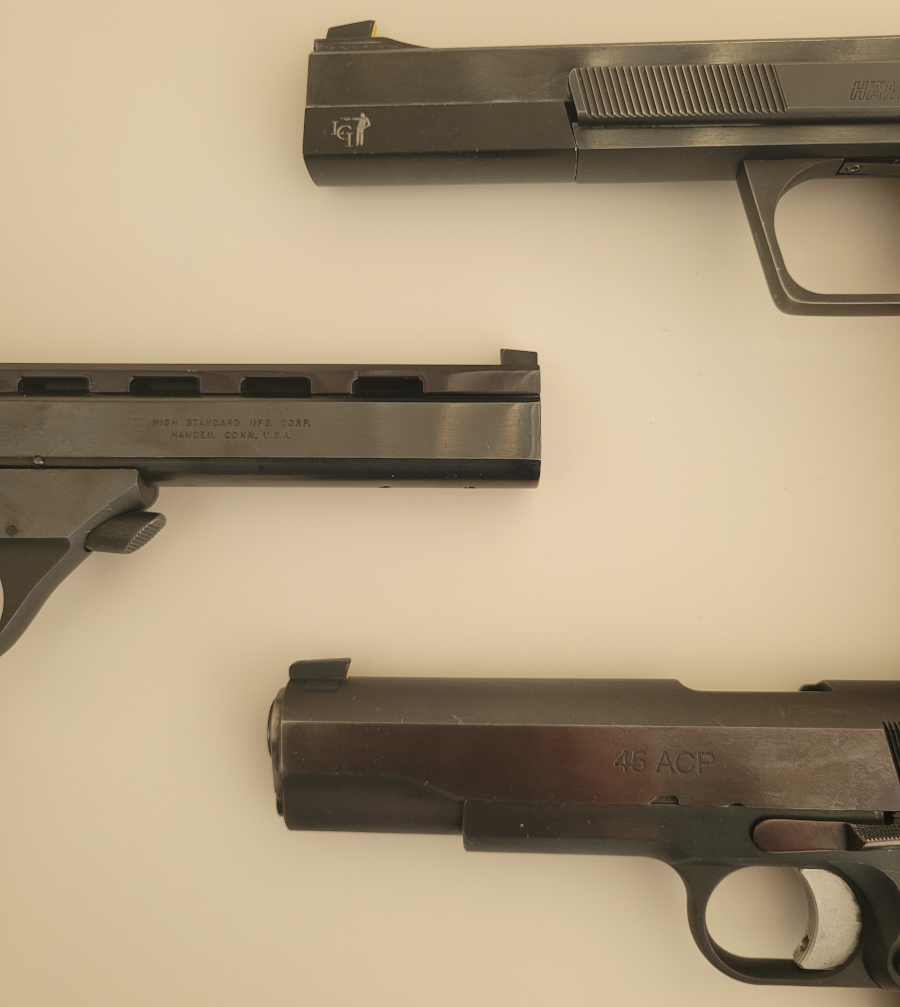
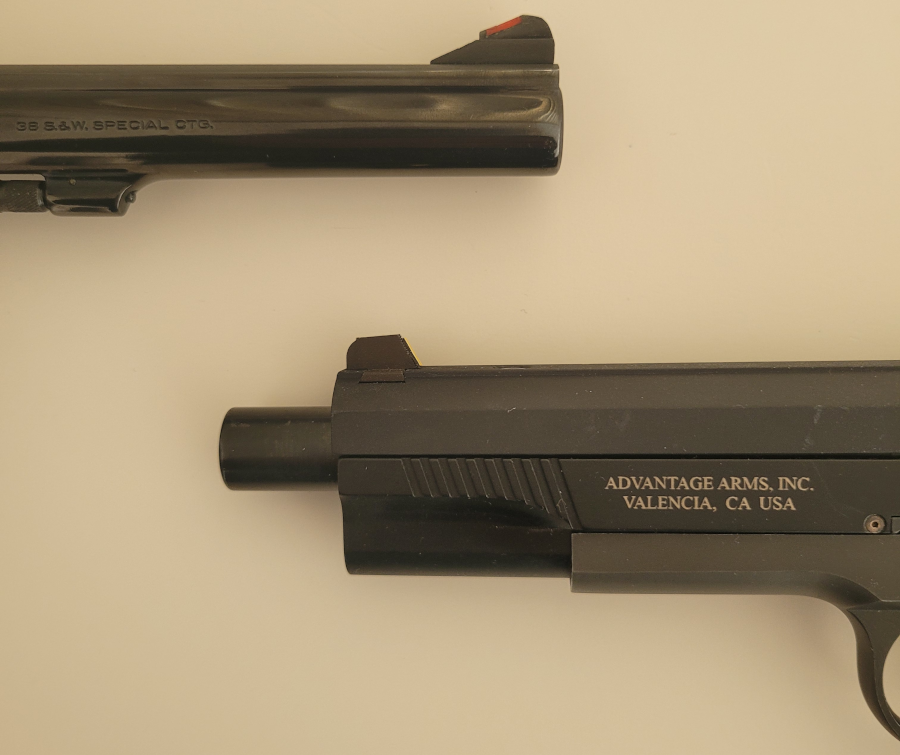
Fiber optics and Tritium are examples of commercially available front sight enhancers, however, the original front sights must be removed. These types of front sight enhancers may not be available for all pistols. Shooters may want to try another option, a simpler solution without removing the front sight.
I finally thought of going forward with my ideas of improving our front sight perception while understanding that the human eye is most sensitive to the wavelengths of the color yellow. That is why we see many caution street and highway signs in yellow. I found a yellow flat refrigerator magnet which was the perfect material because we can get clean edge cuts with scissors and the surface can be easily kept clean.
By coincidence, this yellow refrigerator magnet had a disturbing red line which I thought might be in the way. I decided to keep the red line positioned vertically in the middle of the enhancer to help with the sight alignment along with the sight picture. This actually turned out much better than expected and now became an integral part of the design. As with most of my past recommendations, this front sight enhancer is easy to make from accessible materials and at no cost. Our ingenious shooters may think of other materials to use.
Once the front sight enhancer is trimmed off to the dimension of the front sight post of your pistol, it can be easily attached to the front sight post with double sided tape only after diligently cleaning off gun oil, sight black, gunpowder residue and general grunge.
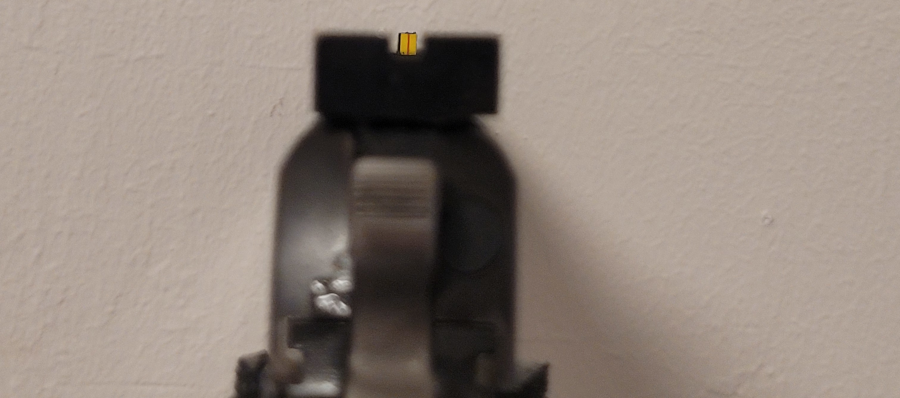
Now, as you look at the sight alignment, the red line shows up immediately and becomes the focal point. Rather than attempting to focus onto a scratch placed purposely onto the front sight post to help with focus, the red line is very easy to “see.” The red line also helps with sight alignment and sight picture horizontally and lessens the dependency of noting only the equal spacing of the left and right slits of light between the front and rear sights. In summary, this red line acts like a fine secondary sight post within the front sight post and becomes a very accurate aiming tool.
The top edge of the yellow enhancer helps align with the top of the rear sight easily. This may aid in a quicker sight reacquisition during sustained fire, especially with center mass hold. The yellow jumps out to your eye. Outdoor lighting such as at Camp Perry and Camp Pendleton would provide the most consistent and best lighting to the front sight enhancer as long as the sun is overhead and behind the shooter.


Another significant benefit to the yellow color is the ease in which to see your sights in dimmer lighting. However, the lighting direction at the firing line is important. It would be best if there was some lighting above and behind the pistol and not only in front or directly above. I have dry fired in a large room and in the garage with no lights on other than a mild light source behind the pistol and I saw the sight picture with ease. In this situation, my shooting eyeglass Rx had to be reduced in order to see the bullseye with some definition. Indoor ranges with poor lighting may not need extensive electrical work. We can achieve the proper lighting simply by adding some additional lighting and place them accordingly. We can also verify proper lighting by clamping a portable lamp onto the door of the pistol box. Since this would be forward to adjacent shooters, it would not be a disturbance to them.
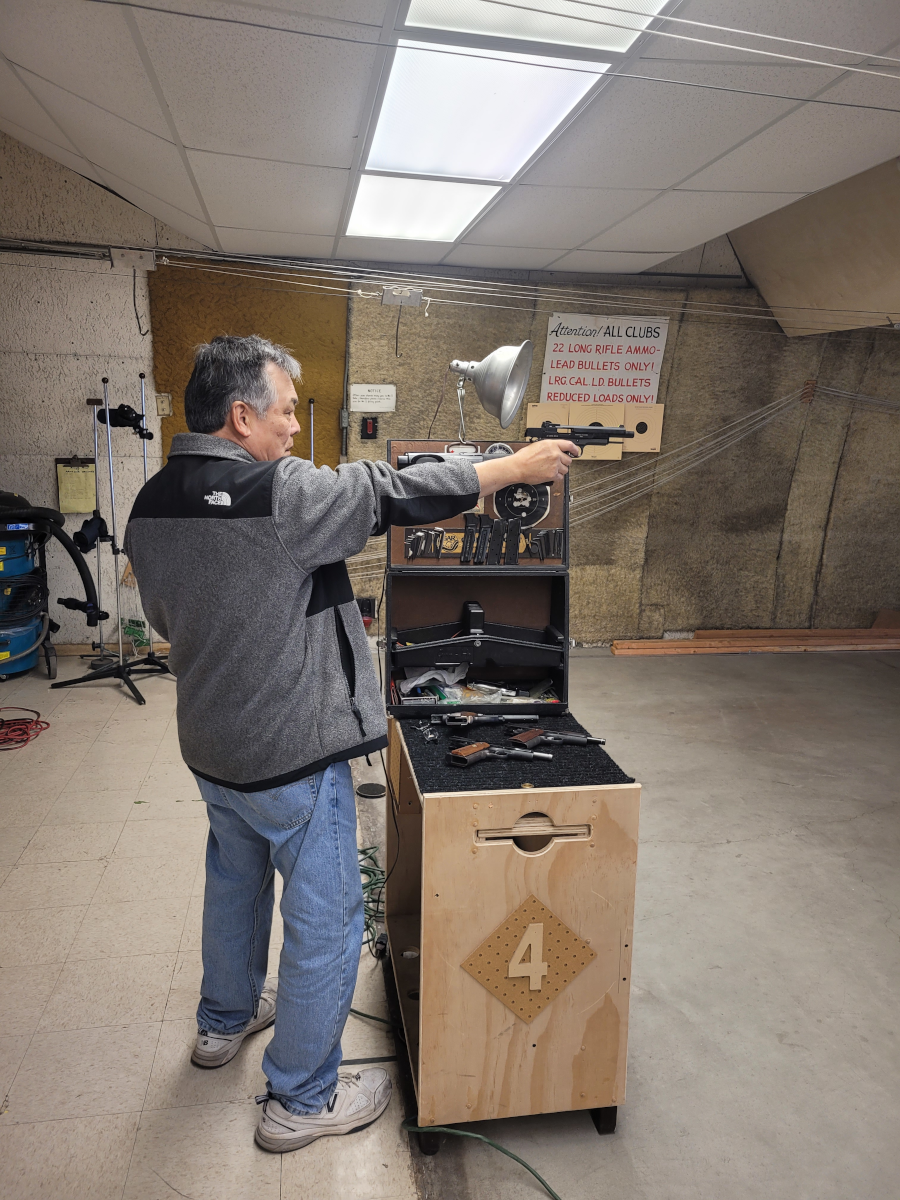
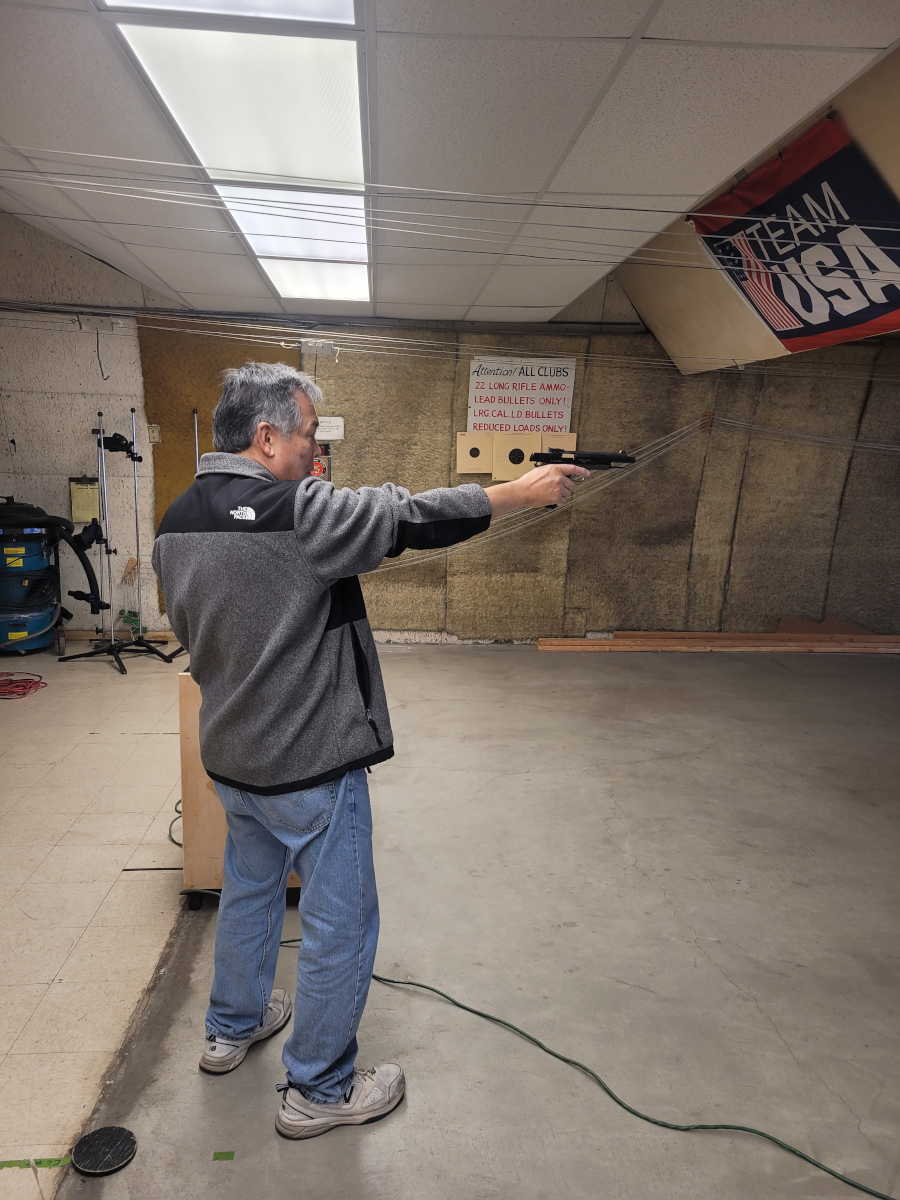
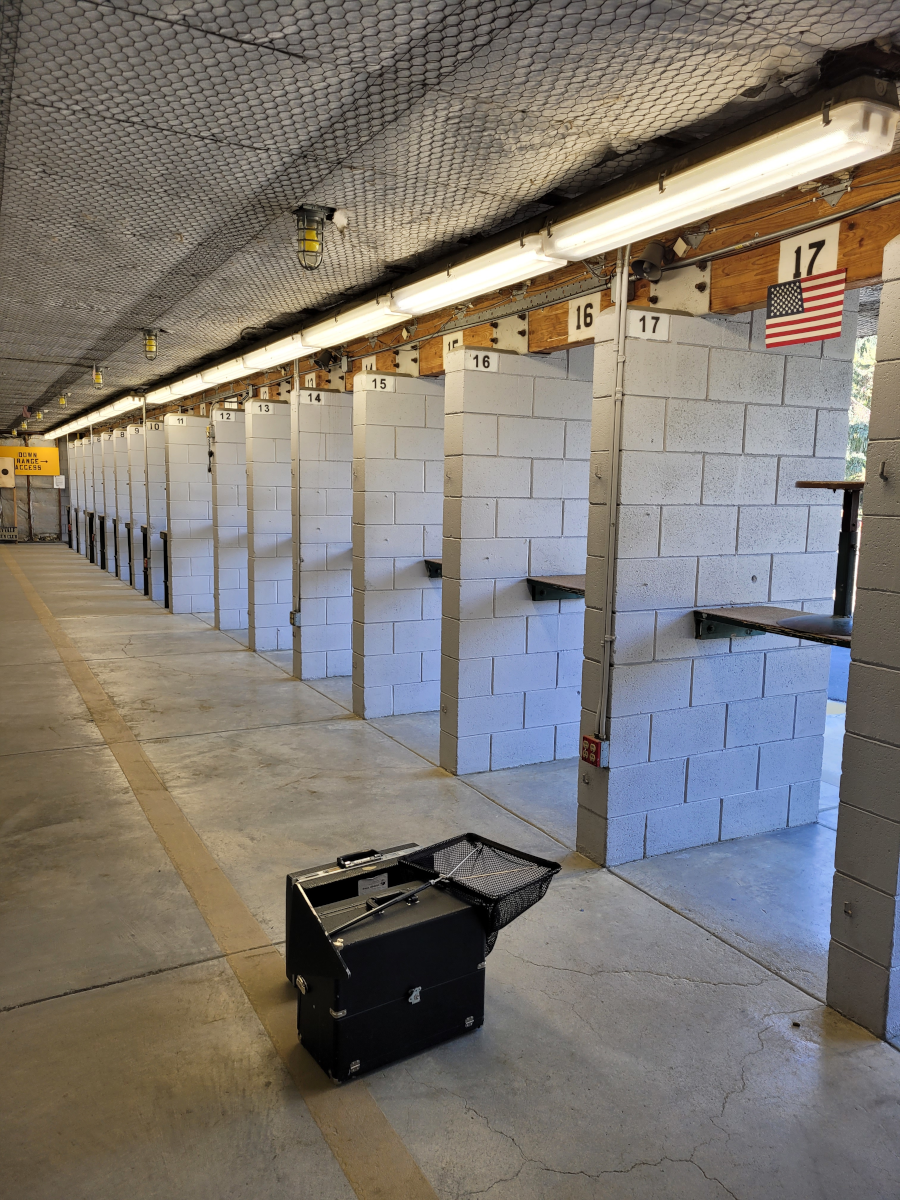
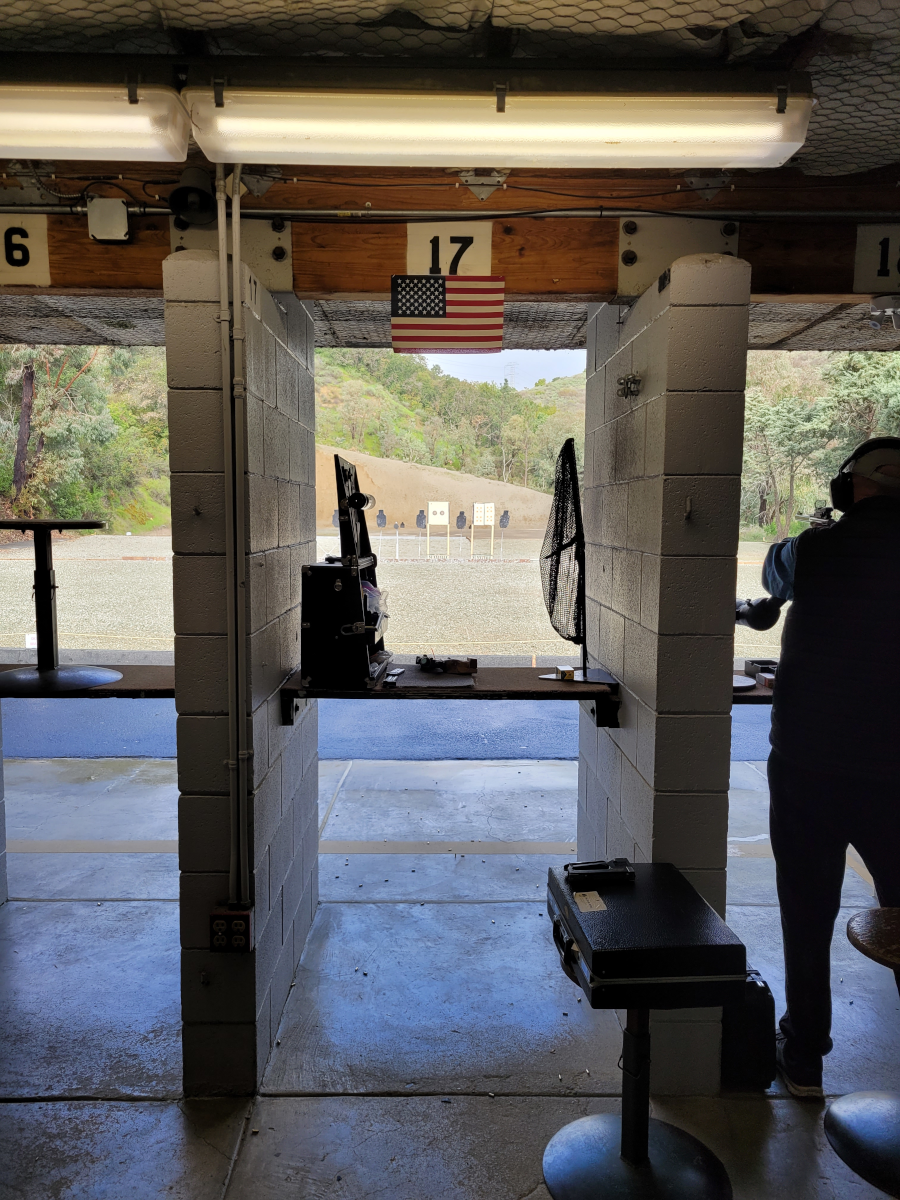
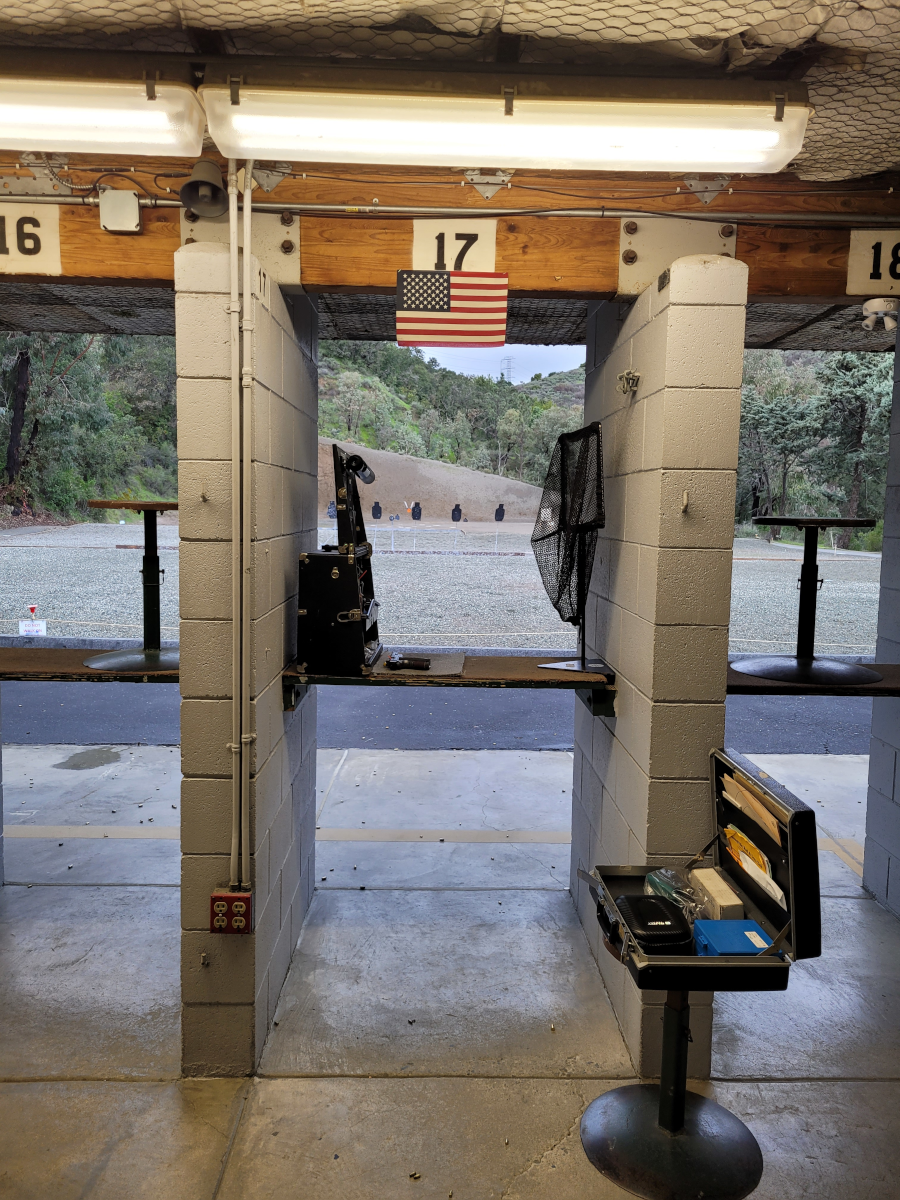
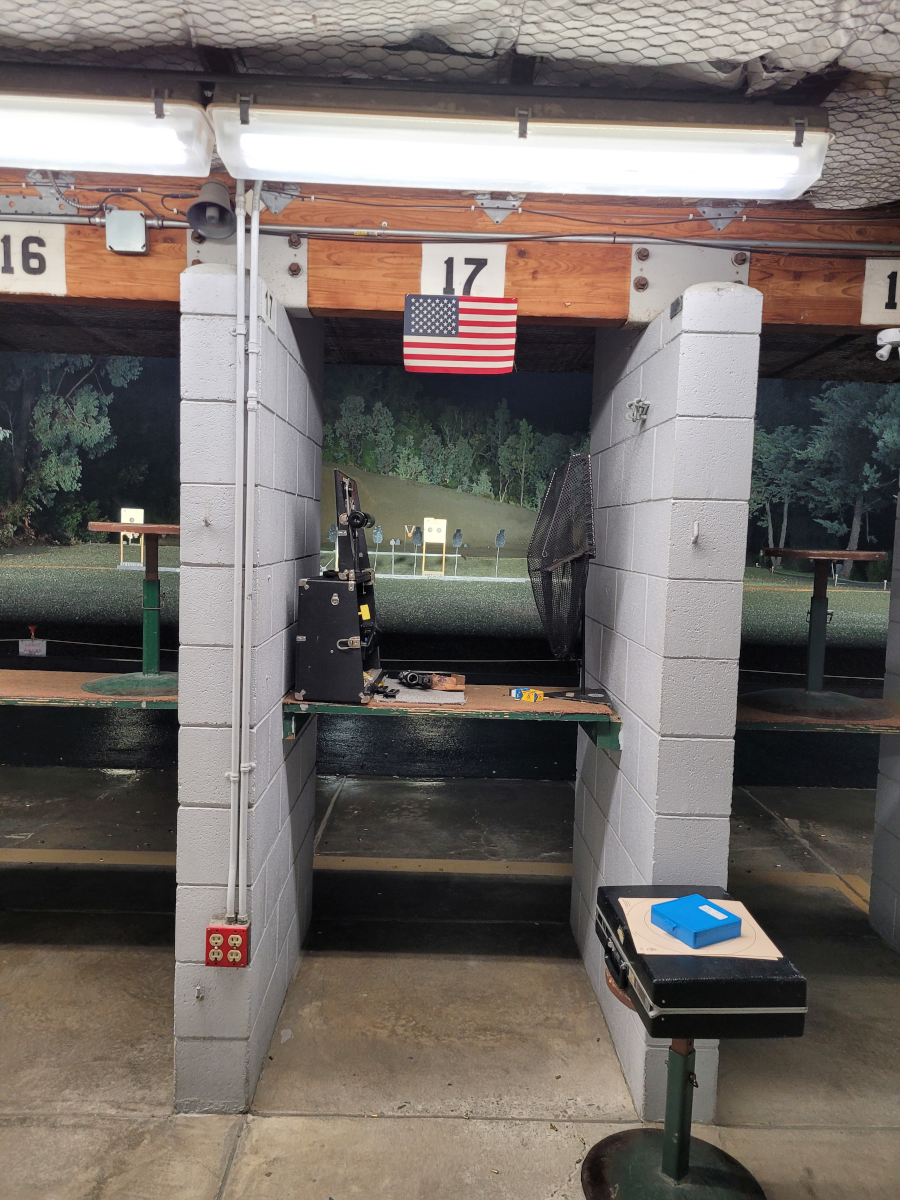
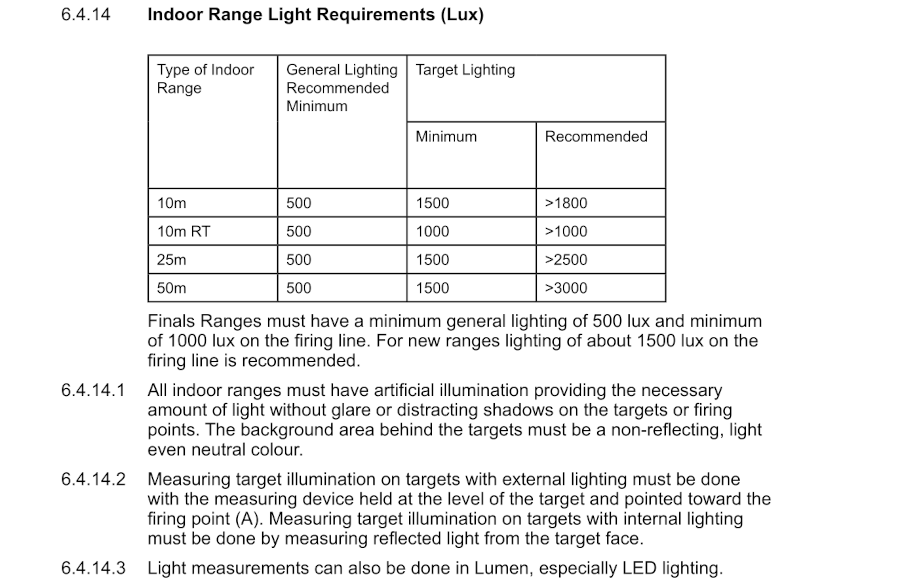
ISSF Indoor Range Light Requirements (Lux), both minimum and recommended are shown below. The recommended range on the firing line is 1000 lux and 1500 lux for new ranges. The placement of the lights at the firing line was not discussed.
The front sight enhancer may improve all of the sighting preferences, the center mass hold, 6 O’clock hold, and sub-6 hold. The center mass hold had become much easier and enjoyable during dry firing exercises. In regards to the power of your shooting lens prescription for our senior shooters, experiment with different powers for best focus but it is also important to note which lens power would allow you to pull the trigger most naturally without hesitation.
This design may be varied to the shooter’s preference. For instance, one of my test shooters who used a 6 O’clock hold preferred a slight slit of black showing along the right and left sides as well as on the top of the enhancer.

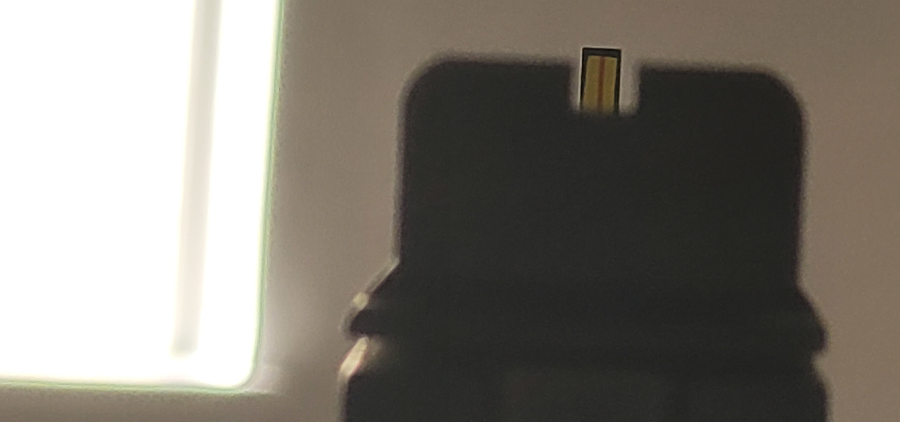
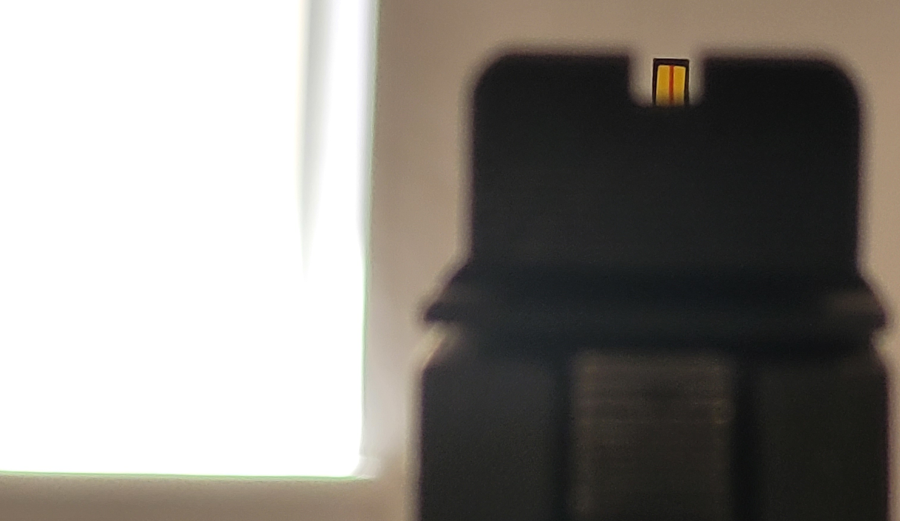
There is a difference between “focus” and “fixation.” We’ve read and heard numerous times on the importance of focusing onto the front sight. I believe the words focus and fixate have been used interchangeably without regard to their exact meanings. Focus refers to the exact dioptric means to see the front sight at a particular distance such as 36 inches. We do this unconsciously by using the lens in our eyes to focus, or as with our older shooters, use prescription shooting glasses. Fixation means that we maintain our attention to the front sight and nothing else. Although many well-meaning instructors discuss absolute focus onto the front sight, this would not be possible after a certain age without the correct prescription shooting lens. My point is, we must focus and fixate to the best of our abilities to obtain our best possible sight picture. A few examples may come from our match winners and national champions. It would be highly improbable for our senior shooters to focus onto the front sight without the use of the proper prescription shooting lens. Yet, we read of national champions who use no prescriptions, or only a small prescription add of only +0.50 and still win at Camp Perry. Remember fixation!
After testing and getting more feedback from other shooters, I varied the front sight enhancer and found a couple of designs that may be more advantageous to some, the triangle with apex on top and on the bottom. These two designs will still allow some black of the front sight to be seen while there is more attention to focus. So again, we have the yellow color the eye is sensitive to, the red line to help with focus and now the triangle to direct the eye to the top of the front sight. The triangle shape also aids in centering the front sight within the rear sight horizontally. So when the triangle is centered within the rear sight notch horizontally and vertically, the shot will be good. This may help shooters who do not wish to widen their rear sight notch even though it may appear too narrow.
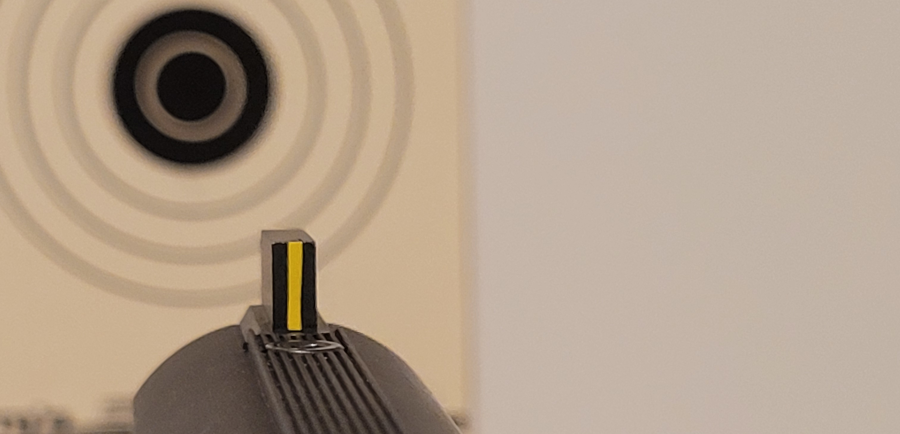
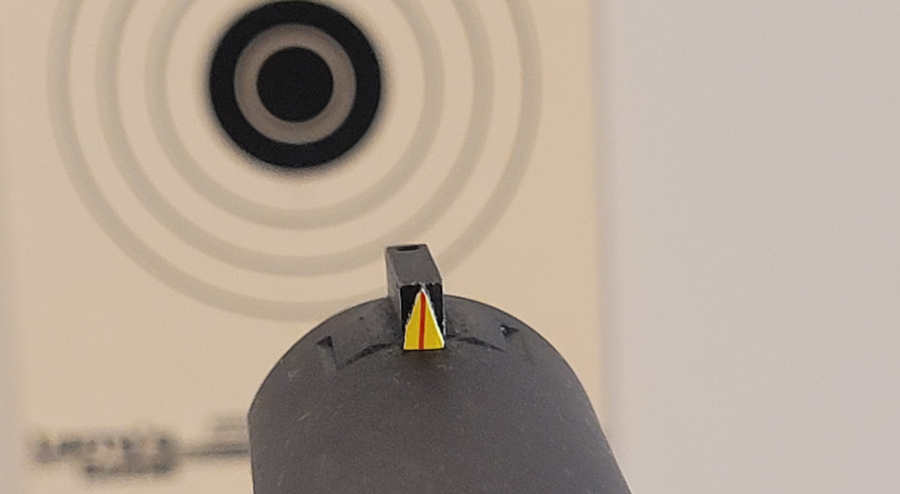
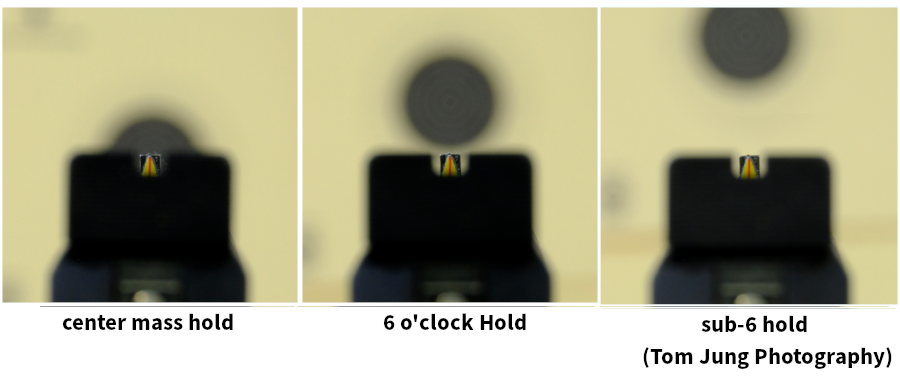
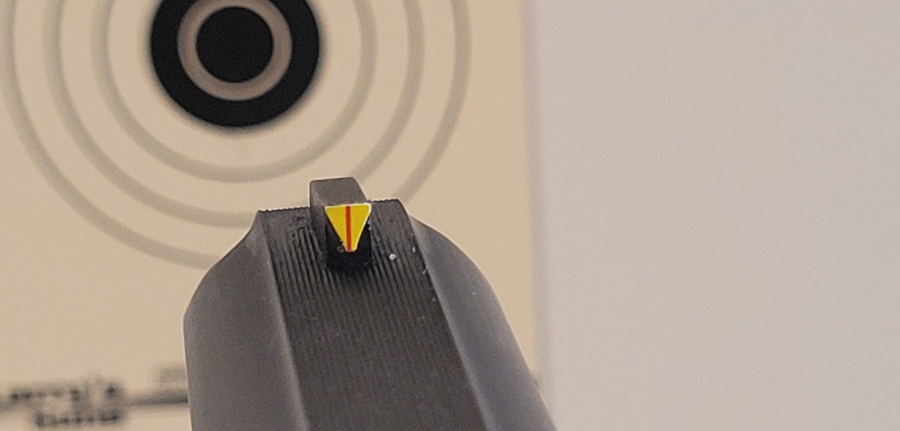
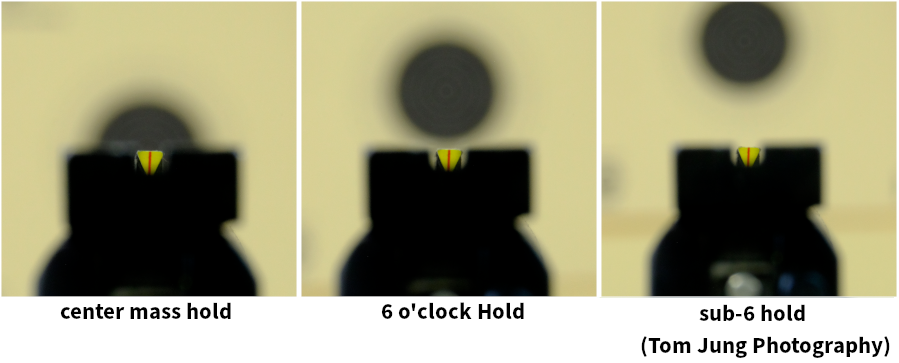
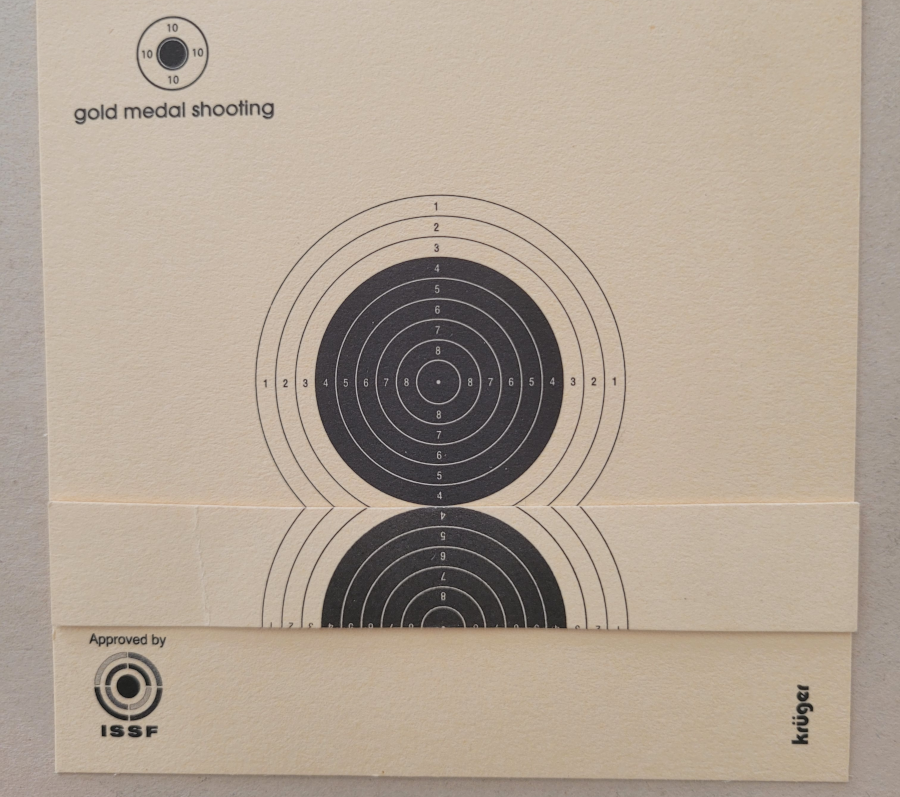
The size of the bullseye and blur were not indicative of how we see. They were used for illustrative purposes only. To accurately show the spacing of the sub-6 hold as described during the bullseye clinic by Brian Zins and Andy Moody, we used a spacer half the diameter of a bullseye. I believe that because of our visual perception, the spacing appears greater than half of a bullseye, and may be the cause of judgment difficulties for some of our shooters while using this sub-6 hold.
I believe beginners who have basic knowledge of shooting will benefit immediately from my front sight enhancers as long as the fundamentals are applied such as stance, grip, breathing and trigger control. For masters, high masters and national champions, one of these enhancer designs may improve upon the 10 and X-counts, the difference between winning a match or placing 2nd or 3rd place.
The present NRA Pistol Rules show no restrictions with using my front sight enhancer. However, 20 years ago under 3. Equipment and Ammunition, General Service Pistol Specifications 3.1 (1), Permitted: “All other external alterations to the appearance, configuration of the assembled arm are prohibited,…..
Note: ISSF rule 8.4.1.3a contains, "Sights using fibre optic, light enhancing or reflecting colour surfaces are prohited." An interpretation may prohibit the enhancer's use for ISSF (USAS) competition.
My front sight enhancers would allow the spirit of competition to continue while using the original sights. I would like to hear feedback from your shooting experiences and results.
Good Vision and Good Shooting To All,
Norman H. Wong, O.D.
ACKNOWLEDGEMENTS:
EDITOR AND FORMATTING - Ed Hall
COORDINATOR - Steve Lum
PHOTOGRAPHY OF 3 PICTURE FRONT SIGHT SERIES - Tom Jung
TEST SHOOTERS - Steve Lum, Jeff Rodman, Roy Sasai
